|
Strawbale ConstructionSimple Tools and Skills RequiredI took part in more strawbale construction this Sunday, but with a difference this week; the right tools! 
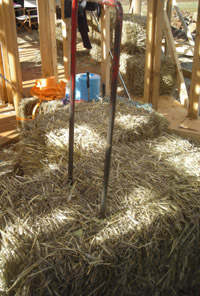
This time we had the elusive baling needle (see right)- the essential tool when constructing in straw bale. The baling needle, an uncomplicated yet effective design - allows you to quickly 'split' a bale yet maintain its compression and shape. Although spliting and notching bales (to fit around posts and studs) is fun and easy, it is time consuming. My lesson, from just two 'sessions' of baling, is to keep in mind when thinking about strawbale house plans, that bales come in standard sizes. In the same way that those who design with steel think in modular terms for standard beam and column sizes, designing a strawbale home in a modular way (for bale size) has the potential to greatly reduce the amount of bale splitting that is required. This gives an overall reduction in both materials and labour- providing $$ savings too! Some splitting will always be required as bales are laid in a 'running bond' formation - like brickwork to increase stability and strength. There is still more baling to be done on site before the external walls are fully compressed and hit with the mallet to ensure that the walls are both tightly compacted as well as straight. Then it might just be time to think about the render- this where it gets really fun- if you like getting all muddy, that is! More details on the strapping and compression of the walls.
|
Going Solar?
Want to Save Water?
Straw bale - Passive Solar Design
Thinking of Investing Green?


